g -->
Showing posts with label seasonal decor. Show all posts
Welcome Friends! Let's Bloom into Fall!
Come Along for a Tutorial on a Fall Centerpiece!
This Fall Centerpiece is one of my favorites,
and it is SIMPLE and FUN TO CREATE!

I'm reposting this post from last year (September 2010). 
I currently can't retrieve new photos/technical difficulties.
Hopefully, I'll be back soon!
Let's Begin!
 CREATE A LITTLE FALL HAPPINESS with APPLES!
Start with a sculptured vase.
(I found mine at Kirkland Home)
Add the following items:
Fall garland picks
wire, green Ivy garland or picks, Floral moss, floral picks
 Fall wired ribbon, Natural Wired Vigne Metallique(optional)
(1) Grapevine wreath,
  A basket that fits perfectly in to the diameter of your vase,

Attach grapevine wreath to your basket.
Choose a basket with a handle,
so you can easily anchor your wreath to the basket handle.
Embellish your grapevine wreath and the diameter of your basket
 with green ivy picks, green moss and garland.
 Secure ivy in place with floral picks and wire.
You're on your way!


Add Fall garland and ribbon to one side of your wreath and basket.
Add Natural Wired Vigne, Fall wired Ribbon
Let The Fall Happiness Begin!
Embellish with  apples, pumpkins, wood signs, and Halloween Decor!

Add  a Sign to--
Celebrate Family, Friends, Traditions!

Add a few "SPOOKTACULAR" Pumpkins !

This was my little daughter's "Fall Happiness" as I was taking pictures of pumpkins.
Enjoy!

Tip Junkie handmade projects


Hello Friends!
Sending out a "Happy Monday" to everyone!  Some of you may remember this Fall Centerpiece from a previous post (9/2009). This centerpiece is one of my favorites!

Thank you for your emails regarding the
 Fall Centerpiece I created a few weeks ago from
 (The Twelve Days of Creative Fall).  This tutorial will give you a little more creative inspiration!

For a stunning multi-level arrangement, combine fresh flowers, seasonal fruits and dried materials. Select autumn's classic forms: field-grown wheat, pumpkins, Indian corn, apples and fall flowers.


Materials:
8 1/2" diameter floral foam ring(must be slightly larger than the top diameter of your larger vase)
8" X 12" clear glass cylinder base
2" X 6" clear glass cylinder vase.
Harvest vegetables, picks, wheat or whatever you choose to use or have on hand!

Directions:
1. Fill a large clear cylindrical vase with produce and top it with a floral foam ring! Soak the floral-foam ring in water for 15 minutes.

2.Center the small cylinder vase inside the larger one. The small vase acts as a spacer. Fill your cylinder with harvest vegetables!

3.Place the Foam ring on top of the large cylinder vase. The ring will be covered with dried and fresh floral materials.

4. Evenly arrange the pieces on the foam ring, inserting picks as you go.

5. Insert the dried grass, wheat or whatever you choose to use through the floral ring and into the small cylinder vase.

So many possibilities with the beauty of nature!

Fall Pumpkins are arriving!
I know it may seem early, but requests are coming,
so I'm happy to say.... FALL PUMPKINS are available!
Thank you Etsy Treasury!

I will have a large variety of Halloween Pumpkins with NEW Halloween fabrics 
available in mid-August.
Each pumpkin set is unique with a flair for FALL!
The traditional pumpkins of Fall are especially fun to create, and they last
well into Thanksgiving.

Thank you to everyone that have purchased my pumpkins in the past!
It's fun to see where these pumpkins go!
New York, Virginia, Washington, Utah, Idaho, California, Oregon, Louisianna, Florida,
even Canada!


The ideas are endless as you decorate with your Fall pumpkins.
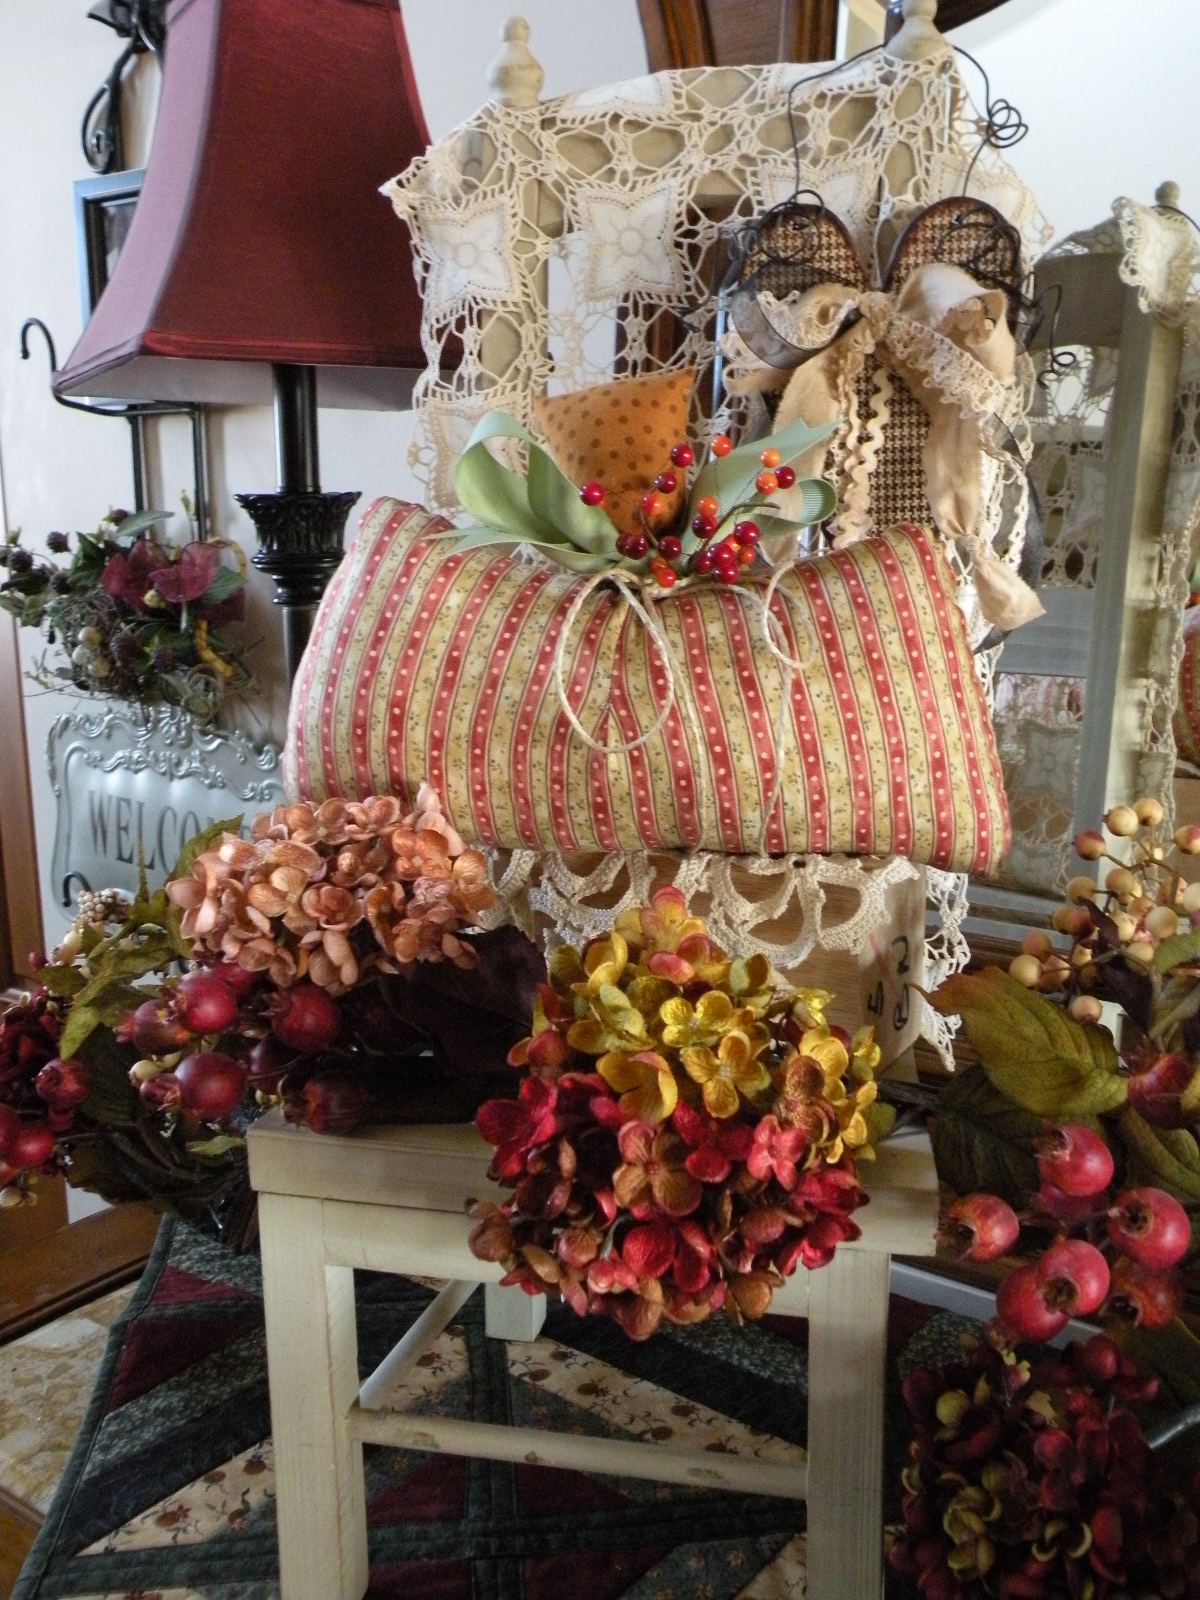
I have set the pumpkins everywhere-mantels, shelves, benchs, chairs, sofa tables.
The pumpkins bring a lot of color, charm and the spriit of FALL to your HOME Decor!
Enjoy!


Hello Everyone!
So Happy to be with you all!
 April is moving by way too fast!
What a busy month it's been!
We've been doing a lot of Re-Organization!

Amongst the organization, I couldn't reisist a few more carrots!
Just like Pumpkins.....Carrots can also be addicting to CREATE!
It all started with the polka dot carrots in the previous post.
I love the bright orange fabrics, which can easily be made from your fabric scraps.
Who can resist the colors of spring along with a few polka dots?

I've made my carrots larger this time around with green rick rack and ribbon trims.
A great addition to Easter decorating!
I found the green leaves at Walmart!
I cut my carrots into a cone shape (two sides placed right sides together).
Gather the top with green rick rack.  Add a few ribbon trims.
I use my glue gun to secure the leaves into place.
Super easy to make.


Enjoy!
Spring is beautiful!
Links:


Hello Monday...you are here!
So happy to see you.
It's Spring Break!

My girls and I are bringing out the Easter Decor!
Carrots are everywhere this Spring.
Instead of the typical orange, we added a few polka dots and stripes!
The decorating possibilities are endless.
I have made my carrots with gathering the tops and tucking the top inside the carrot.
Follow a simple Tutorial by:

Hang your carrots on a wreath
Place them in a basket for a Easter Table Top!
Place your carrots in a Glass Jar!
Fun, Fun Fun!

Enjoy your Spring day!
We are getting a lot of beautiful Sunshine!
I hope you are too!
Links:

Hello Monday......Spring is beautiful!
The temperatures are warm, the birds are singing, the skies are blue,
beautiful flowers are blooming!
My little daughter was marking her calendar yesterday with up and coming
events.  She quickly reminded me...... "It's The First Day Of Spring!"
I love her excitement for Spring!
Children are wonderful, they fill our world with Seasons of JOY!
Today on her calendar is a Teddy Bear Picnic.
She's been counting down for this fun day!
A beach towel, snacks, and a cute Teddy Bear are in the back pack!
What fun to be a First Grader!
I still remember my First Grade Teacher, she was a favorite!
My boys are excited for Spring Break and so am I!

I'm starting a new pattern! It's the baby doll bunting!
I love this pattern because it is filled with several fabrics.
You can welcome any season of colors and patterns.
I favor the bright and cheerful Spring and Summer colors for this pattern.
I will let you know when I have it completed!

We are going to make some of these during our Spring Break!
So simple, so pretty! 
I'm going to use the flameless tea lights.
I'm going to fill the glasses with Jordan Almonds and chocolate Easter Eggs!
(I found the idea from Good Housekeeping Easter Crafts.)

"Here's the votive's version of Easter finery: these enchanting assemblages, crafted in seconds and guaranteed to dress up any holiday table. All you need are candles, ribbon, gerbera daisies, cordial glasses, and double-stick tape. Affix a length of ribbon around the metal rim of the votive. Snip off almost the entire stem of the flower, splay out the petals, and insert into the glass. Top each daisy with a lit candle. For a twinkling effect, place a glass at each setting."

Enjoy your beautiful Spring Day!