g -->
Showing posts with label Childrens Aprons. Show all posts
Hello Friday!  Hello Friends!
I hope you are all doing great!
Are you working on projects for the Holidays?
I've been working on Christmas Cupcake Pin Cushions.
The zero calorie kind.

If  you have my PDF Cupcake Pincushion Pattern, you may understand a little more
about what this is all about.
If you don't, that is fine too, I hope you feel inspired.
Here are just a few ideas to CREATE a Cupcake Pincushion for CHRISTMAS GIFTS.

I will have more cucake pincushions available in my etsy shop soon!
I will ship your cupcake pin cushion in a "HO HO" Bakery Box.
Cupcake Pin Cushions are made with strawberry, cherry and polka dot fabrics.
The fabrics are versatile for year round.
 Each Christmas Cupcake comes with a apple green and white polka dot ramekin dish.
(my favorite part)

I'm also working on more cupcake bags!
If you would like to make this bag, a PDF pattern is available in my etsy shop.
 
Cupcakes are also fun for little Girls!
I think I have a weakness for cupcakes!

        
                                    Have a "sweet" day!
                                     Thanks for visiting!

Welcome Friends!
Sew happy for your visit!
Sew what's new?
 Cupcake Creations....


Reversible Cupcake Apron with pockets,
great for cooking gadgets and a few cupcake treats! 
(Thanks to my little daughter...she will let me take her picture for ICE CREAM! :)
Kitchens are made to bring FAMILIES TOGETHER!
You can wear matching Aprons with
your Mother, Sister, Grandmother, Aunt
whom ever you choose!

A Cupcake for every day of the week! 
Fabrics by A Cupcake A Day.

Reversible-Two Aprons In One!

A Cupcake Pin Cushion to match.
(PDF Pattern available in my etsy shop)
Oh what fun it is to SEW!

Last but not least....
A Cupcake Tote Bag!

Have a Sweet Day!

Links:
Whatever Goes Wednesday
Thank you Joni!  Visit her adorable blog!


Welcome!
"Friends are fun!"
 Brought to you by my seven year old daughter.
I love the patterns/detail on the girl's dresses!
I so agree with her drawing. 
Friends give us warmth, sunshine, and smiles!
It's also great to look CUTE with your friends!
Who doesn't love polka dots, stars and hearts?
Speaking of hearts....I'm back with another
  Valentines apron(look familiar), one that matches
the reversible children's apron created from a kitchen dishtowel!

This one is created for my miracle daughter, my sweetheart, my friend,
who reminds me daily that
Life is Fragile.

I will share a few simple details on how to make it.

 For added length:  I added fabric to the dishtowel, which is your bodice front.
 1. Measure the desired length of your apron.
2. Measure the width of your dishtowel, cut bodice front accordingly.
(The width is 18 inches, the length of my bodice front is 12 inches.)
(My daughter is equal to a size 14/16 children's size)
If you want a larger apron you can add fabric to the sides of your dishtowel.

3.  Sew bodice front to dishtowel, right sides together.
4. For Reversible apron, lay apron on top of coordinating reverse fabric.
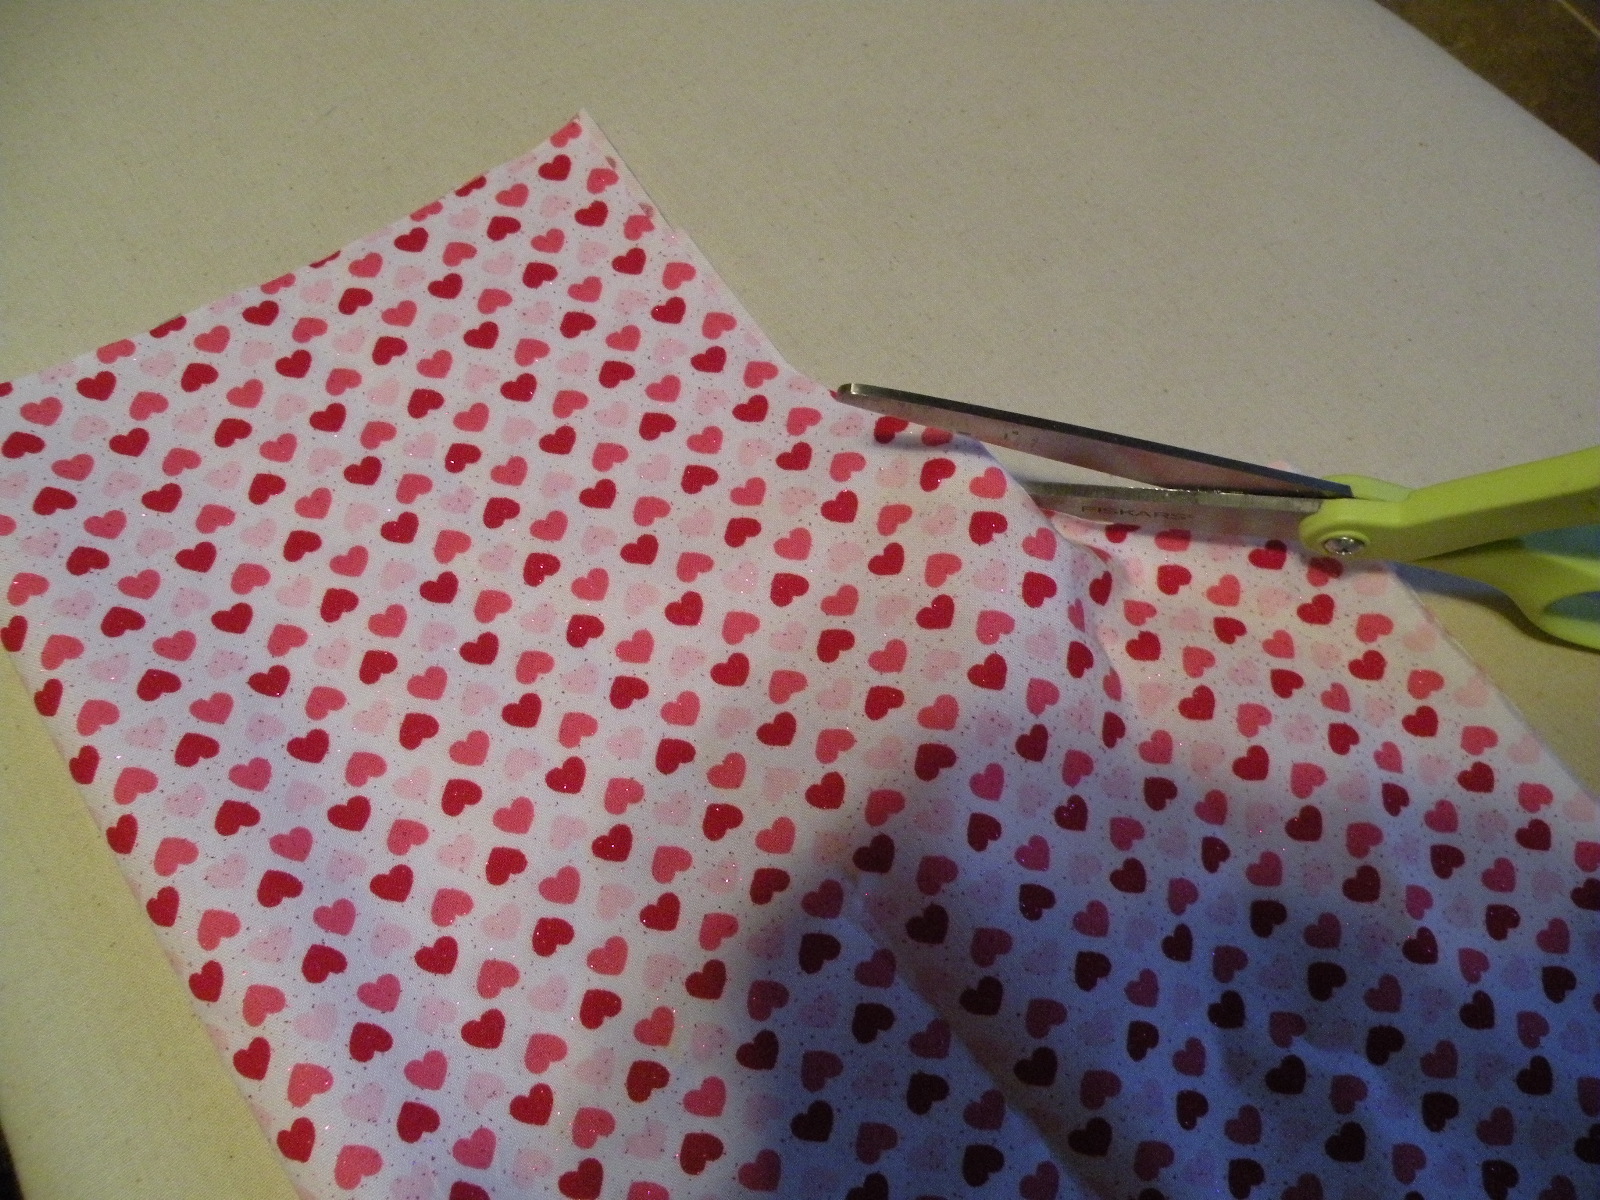
5. Cut your reverse side out, and set aside.

6. Make a band that slips easily over the heard from coordinating fabric
 (see directions for children's apron).
7. Pin your Rick Rack trim(optional) first to the right side of your bodice front.
8. Place band upside down on your apron front as shown.
9. Place reverse side of fabric on top, right sides together-- sew and press.

10. Your apron will look like the picture shown.
(If you want your rick rack on the front of the band, place it first, band second)
11. Make fabric ties for your apron
12.  Place Fabric ties between front and back of apron at the waist of apron or
where you are comfortable with your ties.
13.  Sew right sides together(front and back apron)
14. Leave a opening at the bottom of apron hem.
15. Turn hem under and sew.
 (The dishtowel shown was purchased with the eyelet trim.)


for featuring my Children's Reversible Valentine Apron!
It's not to late to enter the
Valentine Cupcake and Frame Drawing!
To ENTER:  Link a project HERE!
I heart all of you!
"Friends are fun!"

When you find adorable dishtowels, it seems fitting to create a
REVERSIBLE CHILDREN'S CUPCAKE APRON,
especially when you find one that matches your polka dot cupcakes!
I couldn't resist....especially great for Valentines!

Here is the dishtowel that I found at Marshalls with hot pad included
You have seen the cupcakes in previous posts!
Follow along, I will show you the simple steps of transforming your dishtowel
into a reversible children's apron.

1. My dishtowel measures 18 inches X 28 inches, a perfect size for little girls ages 3-10.
I measure(length) how long I want the apron to fit on my little girl,
I cut straight across the dishtowel(width of dishtowel), save the remaining fabric
2. I like to make all of my aprons reversible, so I have chosen a fabric for the reverse side.
3. Fold Dishtowel and Fabric in half, cut the armholes as shown in the above picture.

Now you have the front and back of your apron, including the band
( You will use your remaining fabric for the band that slips over the head)

4.  My band measures 8 inches X 18 inches. 
The band will vary in size depending on your child's height.
5. Fold the band in half two ways and press.
Sew a top stitch on both sides of band

 Optional: embellish your apron with rick rack.
6. To achieve this step, place apron (front and back) right sides together, place your finished band and
rick rack between the fabrics. (your band will be upside down between the fabrics.)
 Sew along the top of the bodice front. Turn your fabrics.
(sorry, I don't have a picture of this step).
When finished:  You will have a front and back that look like the above pictures.
                         7. Continue with Fabric ties of your choice, you can use ribbon,
 I choose to use Fabric for long lasting durability.
 8. Make your fabric ties the same ways as your band only half the size in width.

      9.  Place and Pin your ties on the front of your apron, right sides together with your reverse fabric.
Your fabric ties will be sandwhiched between the front and back fabrics.
10, Sew completely around your apron, leave the hem/bottom of apron open.
Turn your apron, Hem the bottom of apron, the cutest part of the hem is the eyelet trim that
is the trim on the dishtowel.
You are finished!
For a apron that is not reversible and  easier to make-- you can go here
You can also make a half apron for matching Mother/Daughter aprons.
Let the FUN begin!
Happy Cooking, Crafting and Sewing!